Rustic Cherry Cobbler With a Sweet Biscuit Topping

Rustic Cherry Cobbler With a Sweet Biscuit Topping

Servings

6

Prep Time

15 minutes

Cook Time

45 minutes

Calories

290

Cuisine

American

Category

Dessert

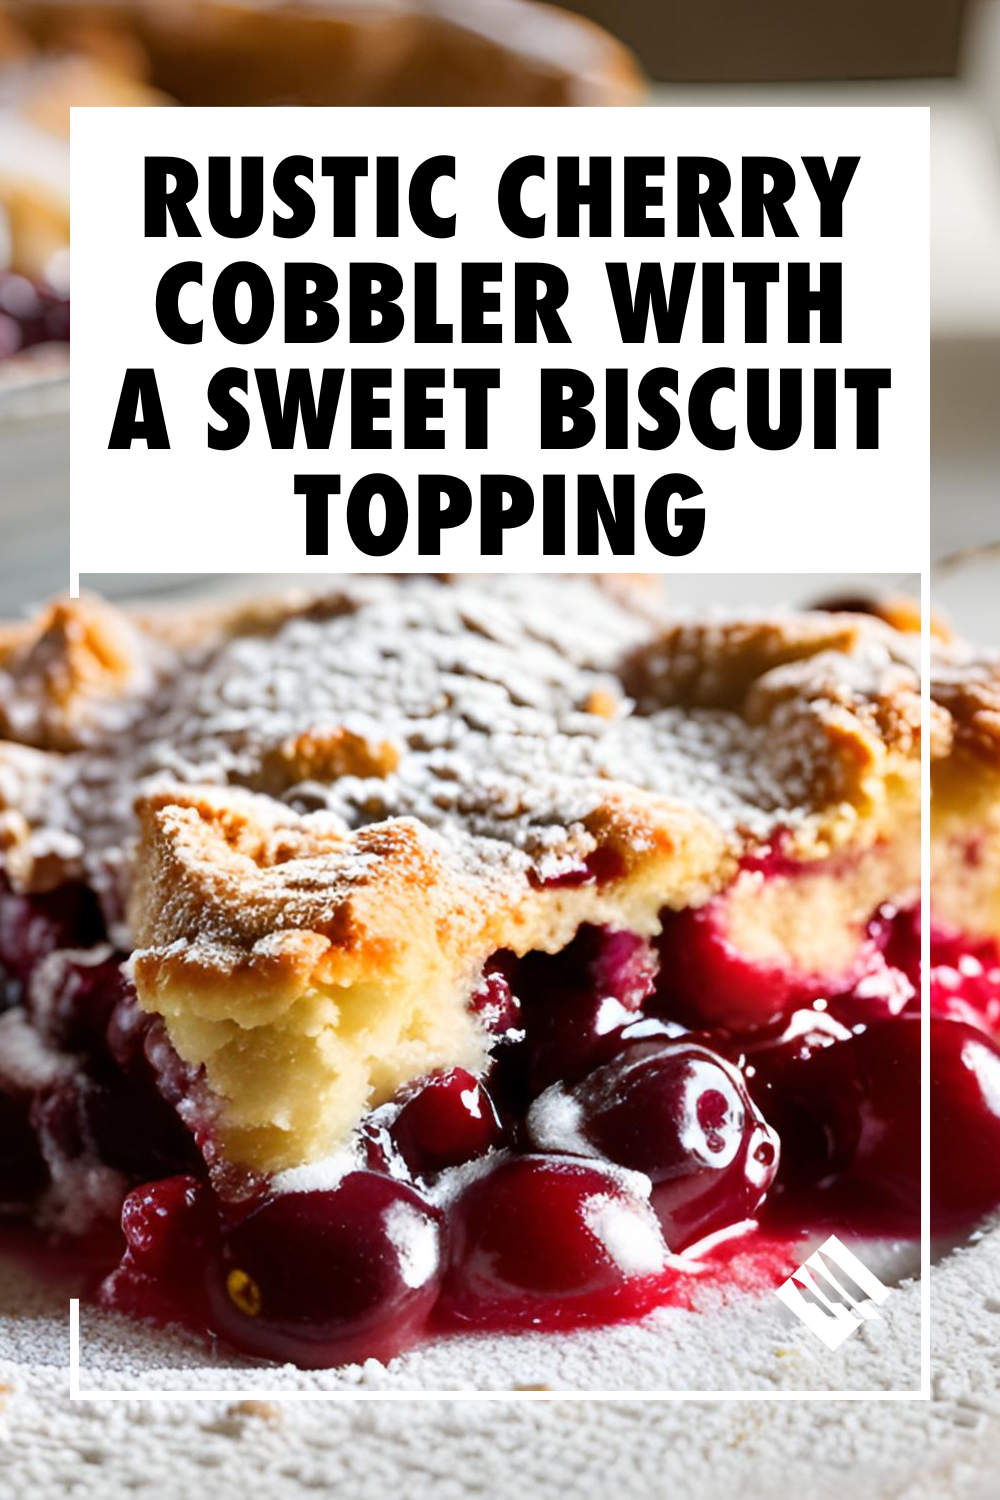
Cherry Cobbler is a quintessential summer dessert, offering the perfect blend of tart and sweet cherries with a soft, buttery biscuit topping. 


The golden crust gives way to a juicy, slightly tangy filling that bursts with cherry flavor. This rustic dessert captures the essence of homestyle baking, where simplicity and flavor come together in one dish. 


A warm serving of this cobbler, paired with a scoop of vanilla ice cream, creates an indulgent and satisfying experience for your taste buds.


What’s great about this recipe is its adaptability. Fresh or frozen cherries both work beautifully, making it a year-round favorite. The biscuit topping is light yet crisp, absorbing the cherry juices as they bubble through during baking. The hint of almond extract adds a subtle layer of complexity, perfectly complementing the natural flavors of the cherries. 


Whether for a family gathering, a potluck, or just a cozy evening at home, this Cherry Cobbler is a go-to dessert that never fails to please.

Rustic Cherry Cobbler With a Sweet Biscuit Topping

Ingredients

  • 4 cups fresh or frozen cherries, pitted

  • 3/4 cup sugar

  • 1 tablespoon cornstarch

  • 1 teaspoon vanilla extract

  • 1/4 teaspoon almond extract

  • 1 tablespoon lemon juice

  • 1 1/2 cups all-purpose flour

  • 1/4 cup sugar (for biscuit topping)

  • 2 teaspoons baking powder

  • 1/4 teaspoon salt

  • 1/2 cup unsalted butter, chilled and cubed

  • 3/4 cup milk

Directions

  1. Preheat the oven to 375°F (190°C). Grease a 9x9-inch baking dish.

  2. In a large bowl, combine the cherries, 3/4 cup sugar, cornstarch, vanilla extract, almond extract, and lemon juice. Stir until the cherries are well-coated. Pour the mixture into the prepared baking dish.

  3. In another bowl, mix the flour, 1/4 cup sugar, baking powder, and salt. Cut in the chilled butter using a pastry cutter or your fingers until the mixture resembles coarse crumbs.

  4. Gradually add the milk to the flour mixture, stirring just until combined. Be careful not to overmix; the dough should be slightly sticky.

  5. Drop spoonfuls of the biscuit dough over the cherry mixture, leaving some gaps for the fruit to bubble through.

  6. Bake for 40-45 minutes, or until the topping is golden brown and the filling is bubbly.

  7. Let the cobbler cool for 10 minutes before serving. Serve warm with vanilla ice cream if desired.

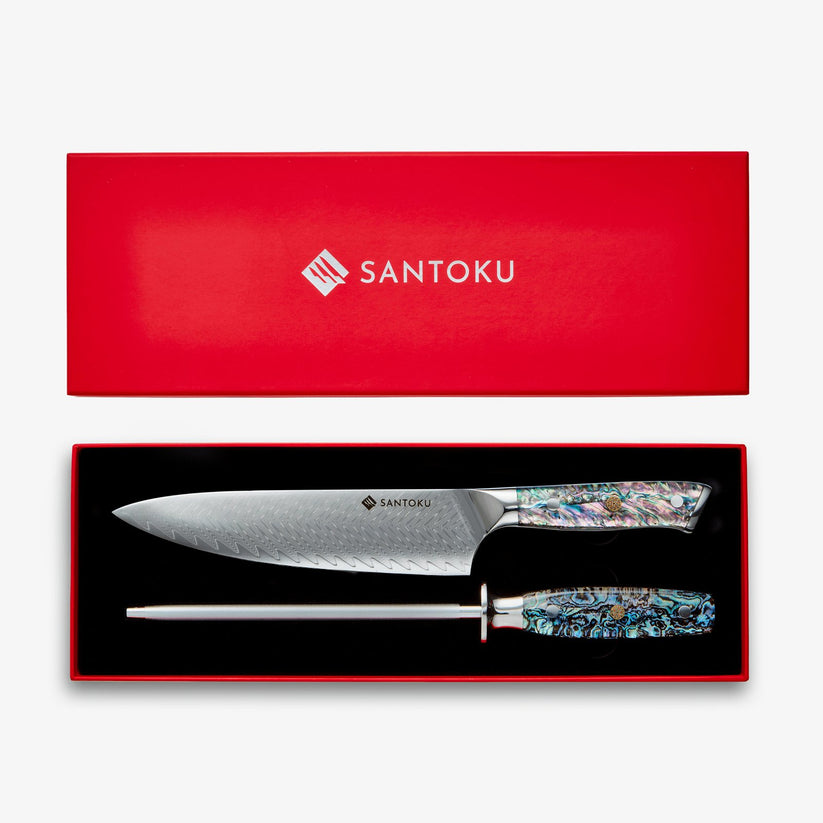
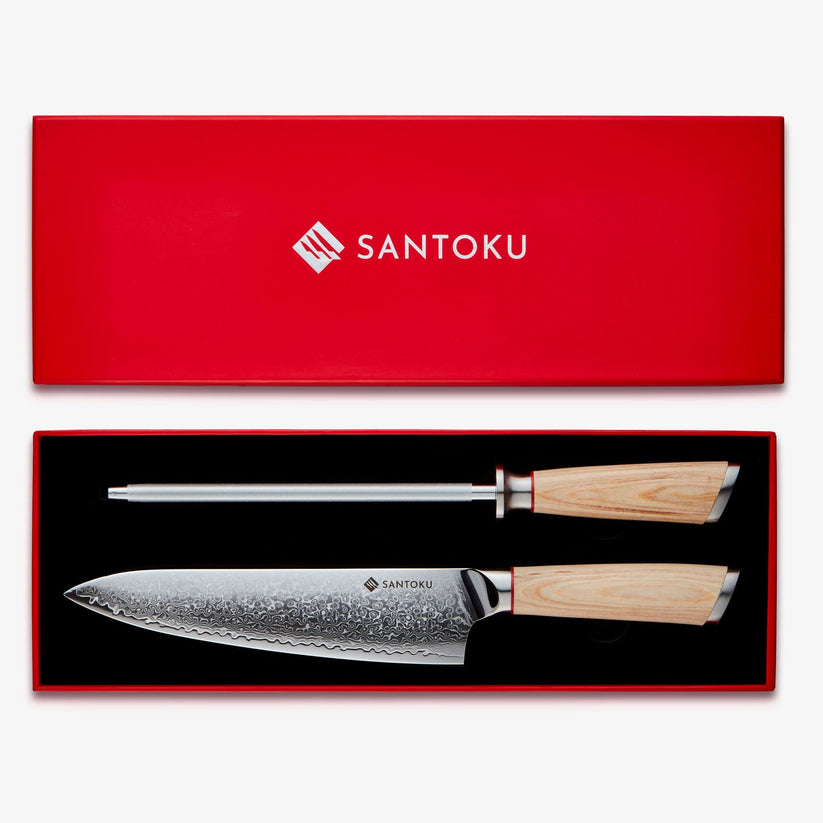
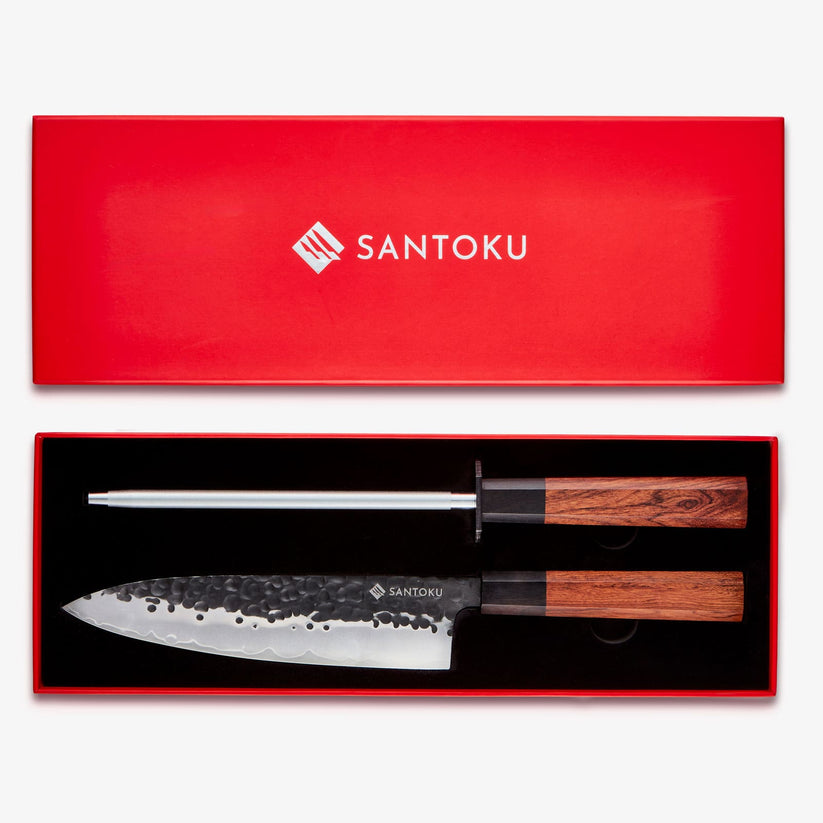
Upgrade Your Kitchen Tools

Make recipe prep easier with professional-grade knives

Browse Collection


10 Tips to Keep in Mind When Cooking Cherry Cobbler

  1. Use Fresh or Frozen Cherries: Both work well, but if using frozen cherries, make sure to thaw and drain them to avoid extra liquid in the filling.
  2. Balance the Sweetness: Adjust the amount of sugar depending on how tart your cherries are.
  3. Chill the Butter: Keep your butter cold before adding it to the biscuit topping for a light, flaky texture.
  4. Avoid Overmixing the Dough: Mix the biscuit dough until just combined to prevent a tough topping.
  5. Add a Hint of Almond: Almond extract beautifully complements the flavor of cherries. Don’t skip it!
  6. Create Gaps in the Topping: Leave some space between dollops of dough to allow the cherry juices to bubble through.
  7. Test for Doneness: The biscuit topping should be golden and fully set. Insert a toothpick to ensure it’s cooked through.
  8. Let It Cool: Let the cobbler sit for about 10 minutes before serving to allow the juices to thicken.
  9. Customize with Spices: Add a pinch of cinnamon or nutmeg to the cherry filling for a warm, spiced flavor.
  10. Top It Off: Serve your cobbler with a scoop of vanilla ice cream or whipped cream for an extra indulgence.

Serve it with Suggestions

  • Vanilla Ice Cream: A classic pairing that perfectly complements the warm, fruity cobbler.
  • Whipped Cream: Light and fluffy whipped cream adds a touch of richness without overpowering the cherries.
  • Fresh Mint: Garnish with a sprig of mint for a refreshing contrast to the sweetness.
  • Lemon Sorbet: For a lighter option, try serving with a scoop of tart lemon sorbet.
  • Cinnamon Whipped Cream: A spiced version of whipped cream adds warmth and depth to the dish.
  • Almond Crumble: Sprinkle a bit of almond crumble on top to add a crunchy texture.
  • Yogurt: For a healthier twist, serve with a dollop of plain or vanilla Greek yogurt.
  • Mixed Berries: Complement the cherries with fresh raspberries or blackberries on the side.

FAQ's

  1. Can I make Cherry Cobbler ahead of time?
    Yes, you can prepare the cobbler in advance and refrigerate it before baking. Bake it fresh when you're ready to serve, or reheat it in the oven if baked earlier.

  2. Can I use other fruits instead of cherries?
    Absolutely! You can substitute peaches, blueberries, or mixed berries for cherries to create your own version of cobbler.

  3. Can I freeze Cherry Cobbler?
    Yes, baked Cherry Cobbler can be frozen. Allow it to cool completely, then wrap it tightly and freeze for up to 3 months. Thaw in the refrigerator and reheat in the oven.

  4. How do I store leftovers?
    Store leftover Cherry Cobbler in an airtight container in the refrigerator for up to 3 days. Reheat in the oven or microwave before serving.

  5. What if I don’t have almond extract?
    You can omit it or substitute it with vanilla extract for a more subtle flavor.

  6. Can I make the topping gluten-free?
    Yes, you can use a gluten-free flour blend to make the biscuit topping.

  7. How do I prevent the biscuit topping from getting soggy?
    Bake the cobbler uncovered to allow the topping to crisp up. Let the cobbler sit for a few minutes before serving so the juices can thicken.

Chef's Recommendation

"A sharp knife is your best friend in the kitchen. For recipes like this, I always reach for my Chikashi chef knife - it gives me the control and precision I need for perfect results every time."
Chef's Note: A sharp knife not only makes prep work faster but also safer - dull knives require more pressure and are more likely to slip.

Discover why our Japanese-style knife sets are trusted by home cooks and professionals alike.

Shop Professional Knives →
Back to blog